While the actual sap collection is a seasonal process that occurs in late winter/early spring (when temperatures are below freezing at night and above freezing during the day), here is an engaging lesson that covers the full process of making maple syrup.
🍁 How to Make Pure Maple Syrup: A Beginner’s Guide
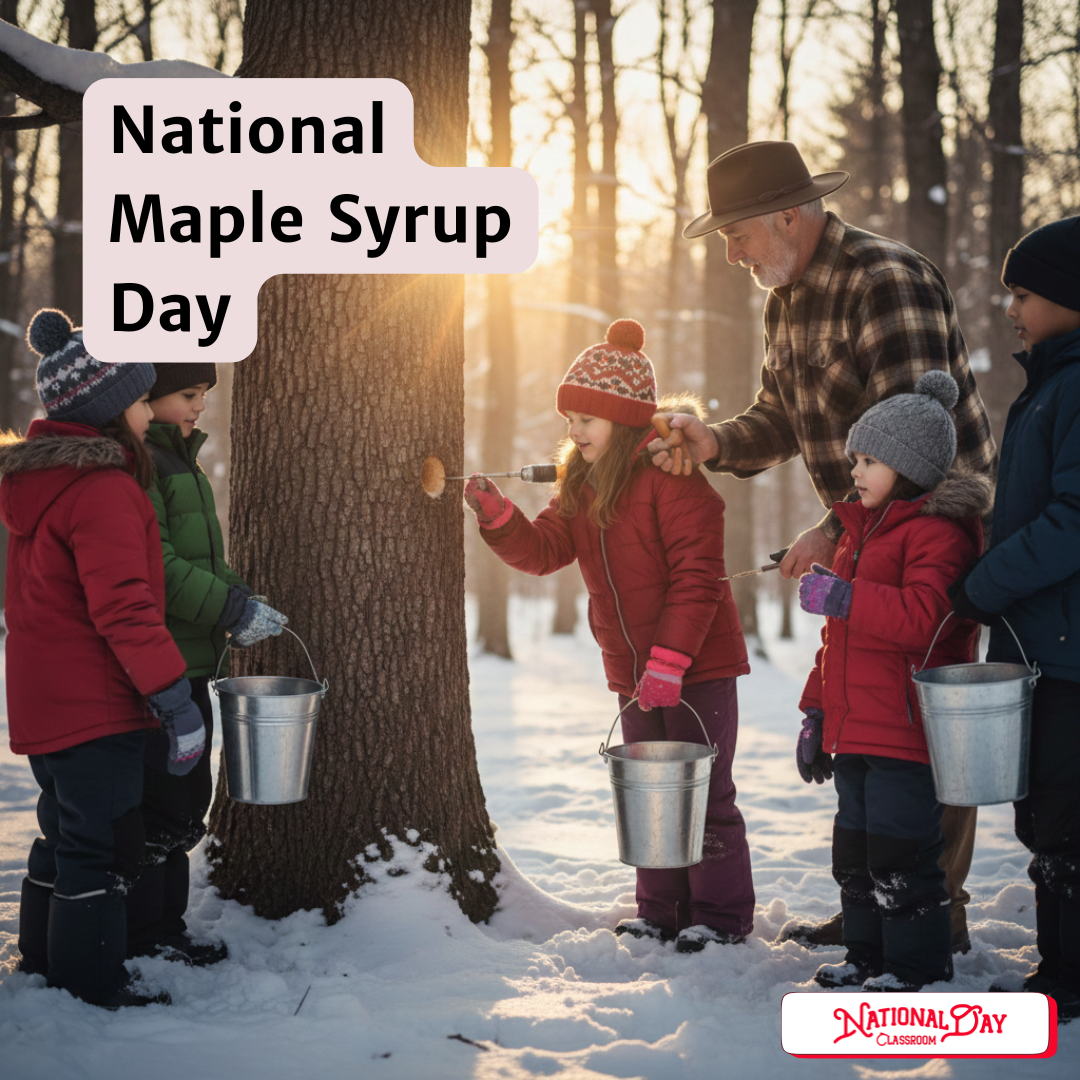
1. Identify and Tap the Tree
The process starts long before National Maple Syrup Day, during the “sugaring season” (typically late winter/early spring).
- Tree Selection: You need a suitable maple tree, primarily the Sugar Maple, but Red or Black Maples can also be used. The tree must be healthy and at least 10–12 inches in diameter.
- The Tap Hole: Drill a hole (usually $7/16$-inch or $5/16$-inch) about 2 inches deep, angled slightly upward, into the tree trunk, roughly 2-4 feet above the ground.
- Insert the Spile: Gently tap a spile (a small spout) into the hole. The sap should start dripping almost immediately under the right weather conditions.
- Collect: Hang a food-grade bucket or container from the spile to catch the sap.
2. Collect and Store the Sap
The sap flows best when nighttime temperatures are freezing (below $32^\circ\text{F}$) and daytime temperatures are thawing (above $32^\circ\text{F}$ up to about $45^\circ\text{F}$).
- Collection: Check your buckets daily.
- Storage: Keep the collected sap cold (below $38^\circ\text{F}$), as it is highly perishable. Use snow or a refrigerator for storage if you aren’t boiling immediately.
- The Ratio: This is the most surprising fact! Sap is about 98% water and only $2\%$ sugar. It takes approximately 40 gallons of sap to produce just 1 gallon of maple syrup.
3. Evaporate (Boil Down) the Sap
This is the most time-consuming step, as you must boil off almost all the water to concentrate the sugar. It’s best done outdoors due to the massive amount of steam.
- Evaporation Set-Up: Use a large, shallow, food-grade pan over a high heat source (like an outdoor wood fire or propane burner) to maximize the surface area for steam to escape.
- Boiling: Maintain a constant, rolling boil. As the liquid reduces, continuously add more fresh sap.
- Skimming: Occasionally skim off any foam or impurities that rise to the surface.
4. Finish the Syrup
As the liquid thickens, the boiling temperature will rise. This final stage requires careful attention to prevent scorching.
- Finishing: Move the concentrated liquid indoors to a controlled heat source (your stovetop) once it’s nearing the proper concentration.
- The Target Temperature: Pure maple syrup is finished when its boiling point is $7.5^\circ\text{F}$ above the local boiling point of water. At sea level, this is about $219^\circ\text{F}$ ($104^\circ\text{C}$). Use a candy thermometer to monitor this closely.
- Density Check: The syrup’s density or sugar content should be $66^\circ\text{Brix}$ (the sugar density scale).
5. Filter and Bottle
The finished syrup will likely contain “sugar sand” (precipitated minerals from the boiling process) that needs to be removed.
- Filter: Pour the hot syrup (around $190^\circ\text{F}$) through a special maple syrup filter (often wool or orlon) or cheesecloth to remove the sugar sand.
- Bottle: Pour the hot, filtered syrup into clean, sanitized, food-grade jars or containers and seal immediately. The heat of the syrup will often create a vacuum seal.